Comprehensive Tutorial on Repairing a Leaky Tap: Professional Tips
Comprehensive Tutorial on Repairing a Leaky Tap: Professional Tips
Blog Article
Presented here in the next paragraphs you will find lots of brilliant insight around How to fix a leaky tap and save water.
Introduction
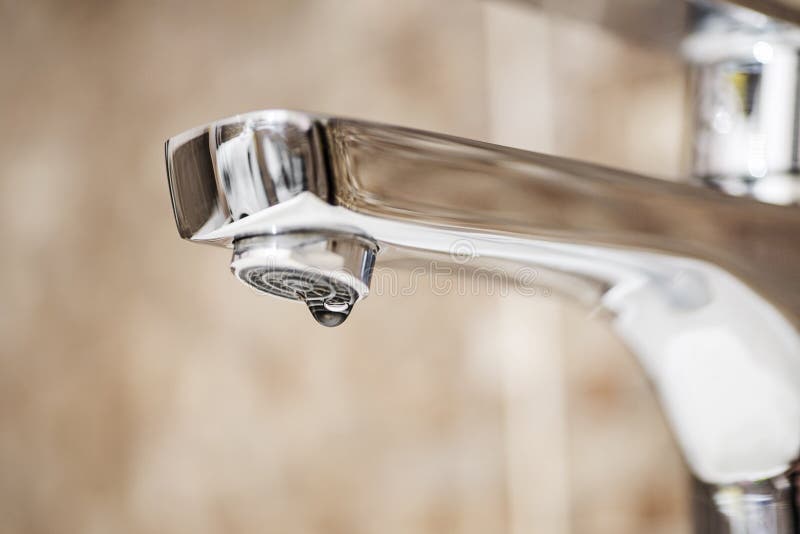
A leaky faucet is not just aggravating but can likewise squander a substantial amount of water and lead to increased utility expenses. In this step-by-step guide, we'll stroll you with the procedure of fixing a dripping tap, allowing you to save water and cash while preserving your plumbing system.
Examining for Damages
Once you've exposed the valve setting up, check it for any kind of signs of damages or wear. Common offenders of a leaky faucet include damaged washers, O-rings, or seals.
Replacing Faulty Elements
If you determine any broken or worn-out components, meticulously remove them making use of a wrench or pliers and change them with new ones. Make certain to use the correct dimension and sort of replacement components for your tap.
Reconstructing the Tap
After replacing the defective components, carefully reassemble the faucet in the reverse order of disassembly. Ensure that all parts are correctly lined up and tightened to prevent future leakages.
Gathering Devices and Products
Prior to you begin, collect the essential devices and products for the fixing. You'll usually require an adjustable wrench, screwdrivers, replacement washers or seals, plumber's tape, and a rag or towel to tidy up any type of spills.
Shutting Down Supply Of Water
Find the shut-off shutoff for the impacted tap and turn it clockwise to shut off the water supply. If you're unable to locate the shut-off shutoff, you might require to shut down the major water to your home.
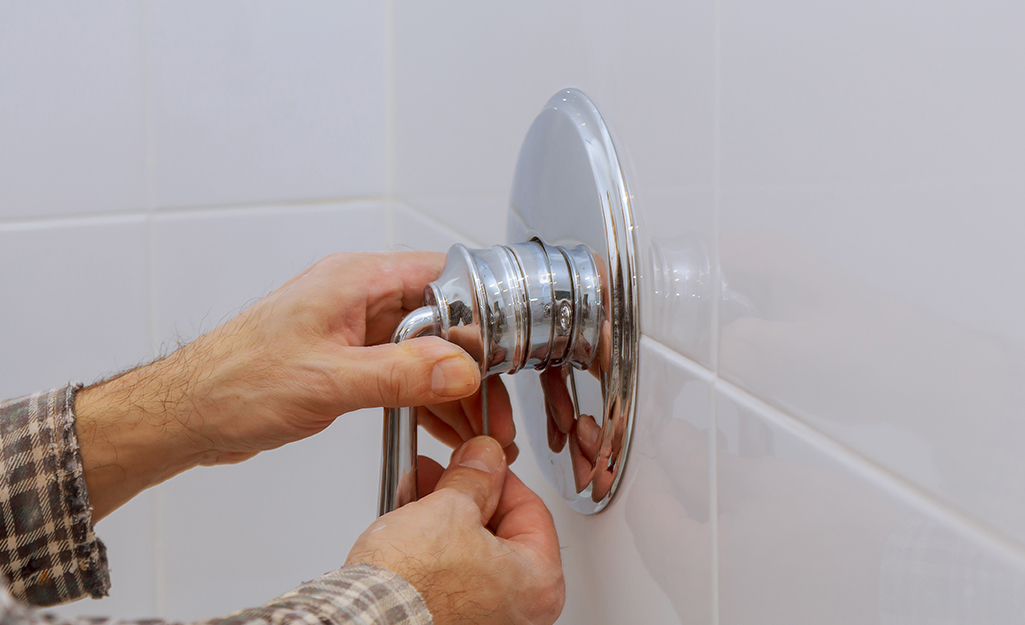
Disassembling the Tap
Use a screwdriver to remove the manage of the tap, subjecting the interior elements. Depending on the kind of tap, you might require to loosen a cap or collar to access the shutoff assembly.
Making Certain Proper Functionality
After verifying that the faucet is leak-free, examination its capability by transforming it on and off numerous times. Make certain that the faucet runs smoothly and with no unusual sounds or resistance.
Cleaning Up
Lastly, clean up any particles or spills from the repair work process and get rid of any type of old or damaged components correctly. Leaving the workplace spick-and-span makes sure a professional finish to your fixing.
Checking for Leakages
When the faucet is reconstructed, transform the water system back on and evaluate the tap for leaks. If you notice any type of leakages, ascertain the connections and tighten them as needed.
Final thought
Fixing a leaky faucet is a relatively simple do it yourself job that can conserve you money on water bills and protect against more damage to your plumbing system. By following this step-by-step guide, you can deal with the fixing with self-confidence and appreciate the benefits of a leak-free tap.
HOW TO FIX A LEAKY FAUCET: A STEP-BY-STEP GUIDE
Turn off the water supply
Before you start fixing the faucet, you need to turn off the water supply. This can usually be done by turning the valve under the sink.
Remove the handle
To access the inner workings of the faucet, you need to remove the handle. This can usually be done by unscrewing a screw that is located under the handle.
Remove the cartridge
Once the handle is removed, you can access the cartridge. The cartridge is the part of the faucet that controls the flow of water. To remove the cartridge, you need to use pliers to pull it out.
Replace the O-rings
The most common cause of a leaky faucet is worn-out O-rings. O-rings are small rubber rings that create a seal between the cartridge and the faucet. To replace the O-rings, you need to remove the old ones and replace them with new ones.
Reassemble the faucet
Once you have replaced the O-rings, you can reassemble the faucet. Make sure that everything is tight and secure before turning the water supply back on.
Santhoff Plumbing
By following these simple steps, you can fix a leaky faucet without calling a plumber. However, if you are unsure about any of the steps or if you don't feel comfortable doing it yourself, it's always best to call a professional plumber.
https://www.santhoffplumbingco.com/blog/2023/october/how-to-fix-a-leaky-faucet-a-step-by-step-guide/
I hope you enjoyed reading our article on How To Fix A Leaky Tap In 5 Easy Steps. Thanks a ton for taking the time to browse our posting. Do you know about anybody else who is very much interested in the subject? Feel free to promote it. We enjoy your readership.
Call Report this page